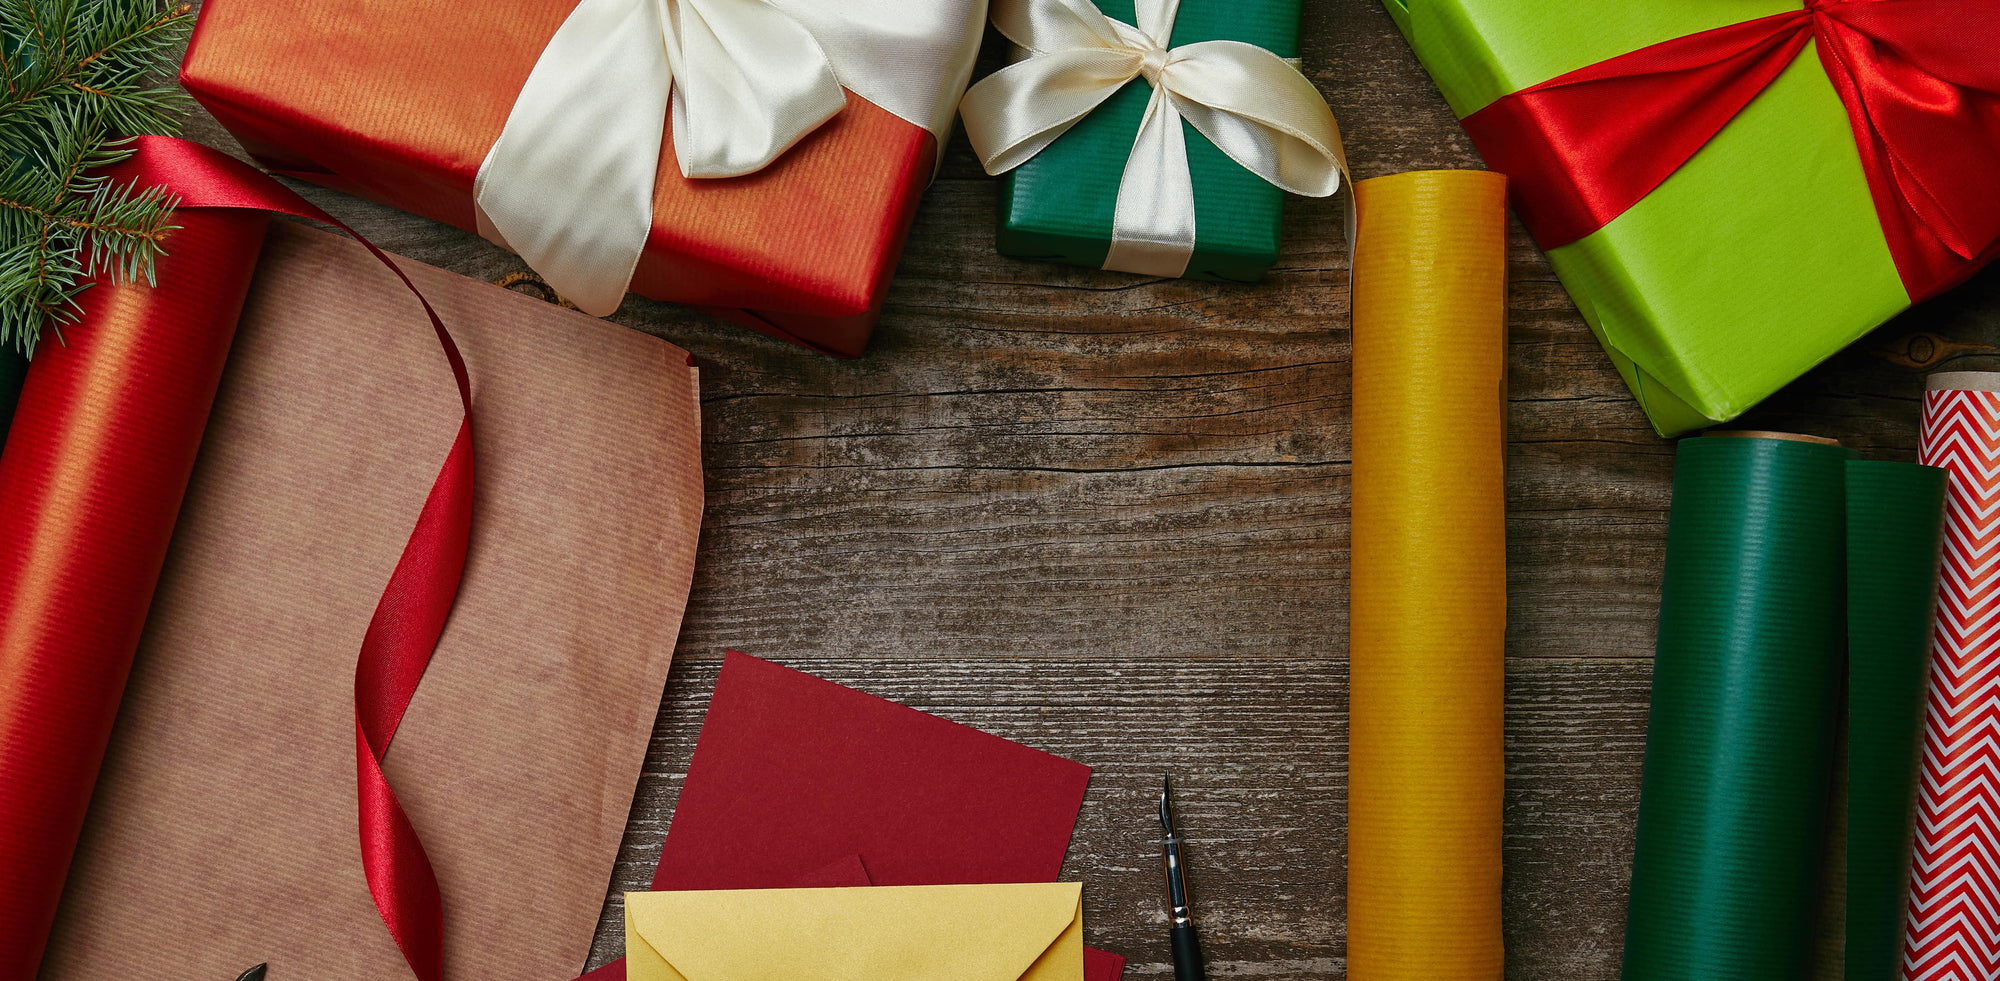
Wrapping a square box like a pro

Some of the best gifts come in square boxes. And, some of the most beautifully wrapped gifts are square boxes decked out with ribbons and bows. A square box is one of the easiest gifts to wrap, but that doesn’t mean that it’s foolproof. If you’re still dealing with seam gaps or saggy corners, we’re here to help with our extremely easy-to-follow gift-wrapping guide.
Wrapping a square box isn’t hard per se, but a lot of us end up with boxes that don’t exactly look neat and tidy like we want them to be. While the process is simple enough, it’s the attention to detail that really makes a difference. With that being said, let’s cover each step.
Step 1: Prepare Your Station
The first thing to do is get your workstation set up. Find a flat, large, smooth, and hard surface, like a dining room table or a wood floor. Get your wrapping paper, gift, tape, scissors, and any embellishments like ribbon and have them all close by so that you can grab them easily.
Step 2: Roll Your Paper Out
Next, you’ll want to roll out your wrapping paper, decorative side facing down, and with the roll away from you so the edge is close to you. Now, place your box on the paper, with enough room on all 4 sides to completely cover the gift. You can eyeball this, and check by dragging the paper up to make sure it can be covered with a bit of overlap, before cutting.
Step 3: Start Cutting
Now, it’s time to cut the paper. Make sure that you’re cutting in a straight, smooth line, because curved or jagged edges don’t make for a nice-looking presentation.
Step 4: Time to Fold
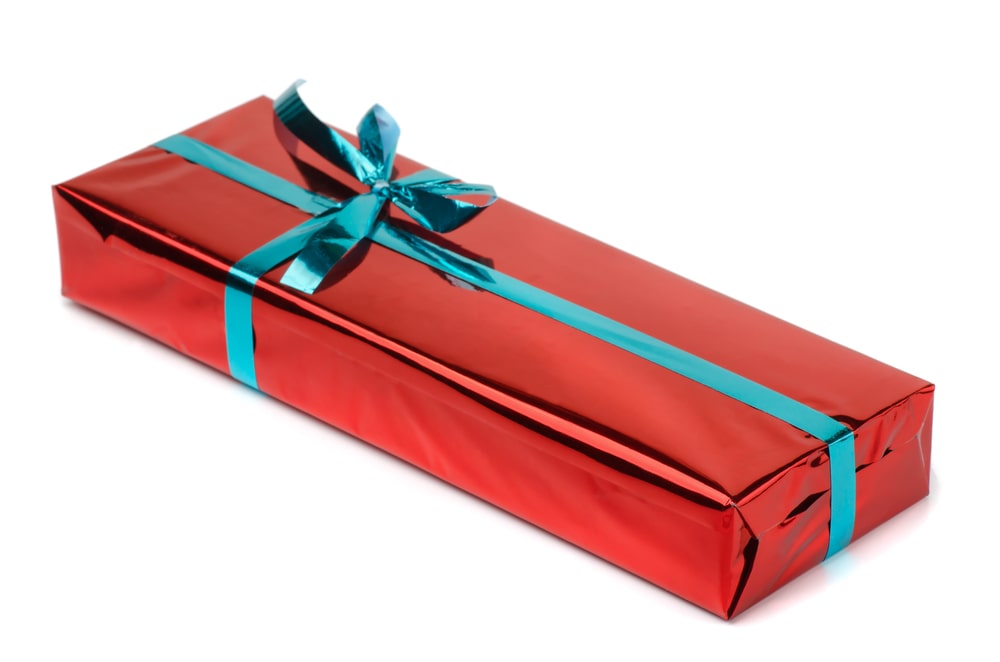
Now, we can get to folding. Let’s start with the seam going across. Take the front and back edges of the box, with the box positioned in the center. Wrap the front seam tightly over the top of the box, and tape in place. Then, do the same with the back seam, allowing to overlap by 1-2 inches – you can trim if there’s too much excess. Tape the seam.
Now, let’s do the two side ends. Start with the left side, and gently smooth the paper in a downward motion so that there aren’t any wrinkles. Now, gently press the paper down, lining up the two corners in the center. Take the left corner and tightly fold it into a triangle flap, with the corner facing the center of the box. Do the same with the right corner, and bring the corners together before drawing them up the side of the box and taping in place. If the edges come over the top of the box, trim it away so only the sides are covered. Do the same with the right side of the box. cover the sides.
Step 5: Put on the Finishing Touches
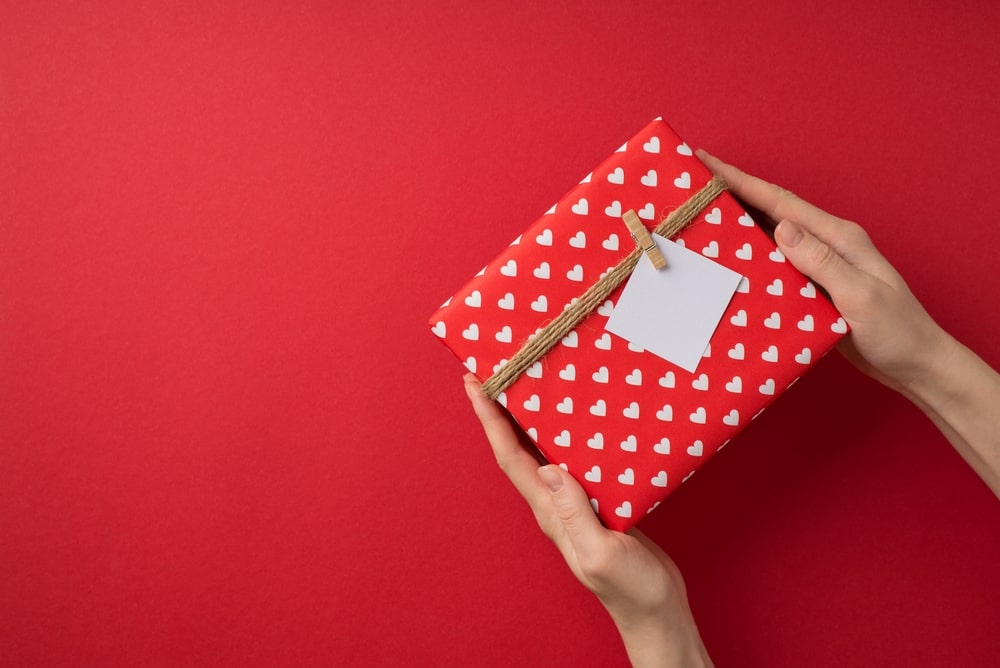
Now that your gift is wrapped, it’s time to embellish. We love a ribbon that goes around all 4 sides. To do this, cut a large piece of ribbon. Turn the box upside down, and place the ribbon beneath, centered so two sides of equal length are sticking out. Bring the ribbon edges to the top of the box, allow them to cross over each other, and hold tightly. Now, position the edges so that they’re going in the perpendicular direction, bring them down to the bottom of the box, flip the box over, and tie a bow.
Gift-Wrap Your Square Boxes Like a Pro!
Wrapping a square box is one of the easiest gift-wrapping methods out there, but you still want to take your time to make sure each detail is just right. Otherwise, your box can look sloppy, saggy, or generally unattractive. If you’re looking for the perfect paper to complement your gift, make sure to look through the collection of eco-friendly wrapping supplies at Waterleaf Paper Co.