How to Wrap a Rectangular Box

Throughout the year, we encounter gift-giving occasions, whether they be holidays, birthdays, weddings, or showers. What that means is that many of us find ourselves wrapping quite a number of gifts each year, many of which come in rectangular boxes. But, you may have been wrapping boxes for years, still wondering why they never come out looking neat, tidy, and generally aesthetically pleasing. If you’re looking for a guide that can help you wrap rectangular boxes like a pro, we’re here to help.
The tried-and-true box-wrapping method is simple enough in theory, but many people get it wrong, resulting in gaps in the paper seams, bunched up folds, or saggy corners. Let’s cover the basics on wrapping a rectangular box, as if any of these mistakes sound familiar, it’s likely because you’ve never had anyone teach you the process step-by-step.
Step 1: Get Your Supplies Ready
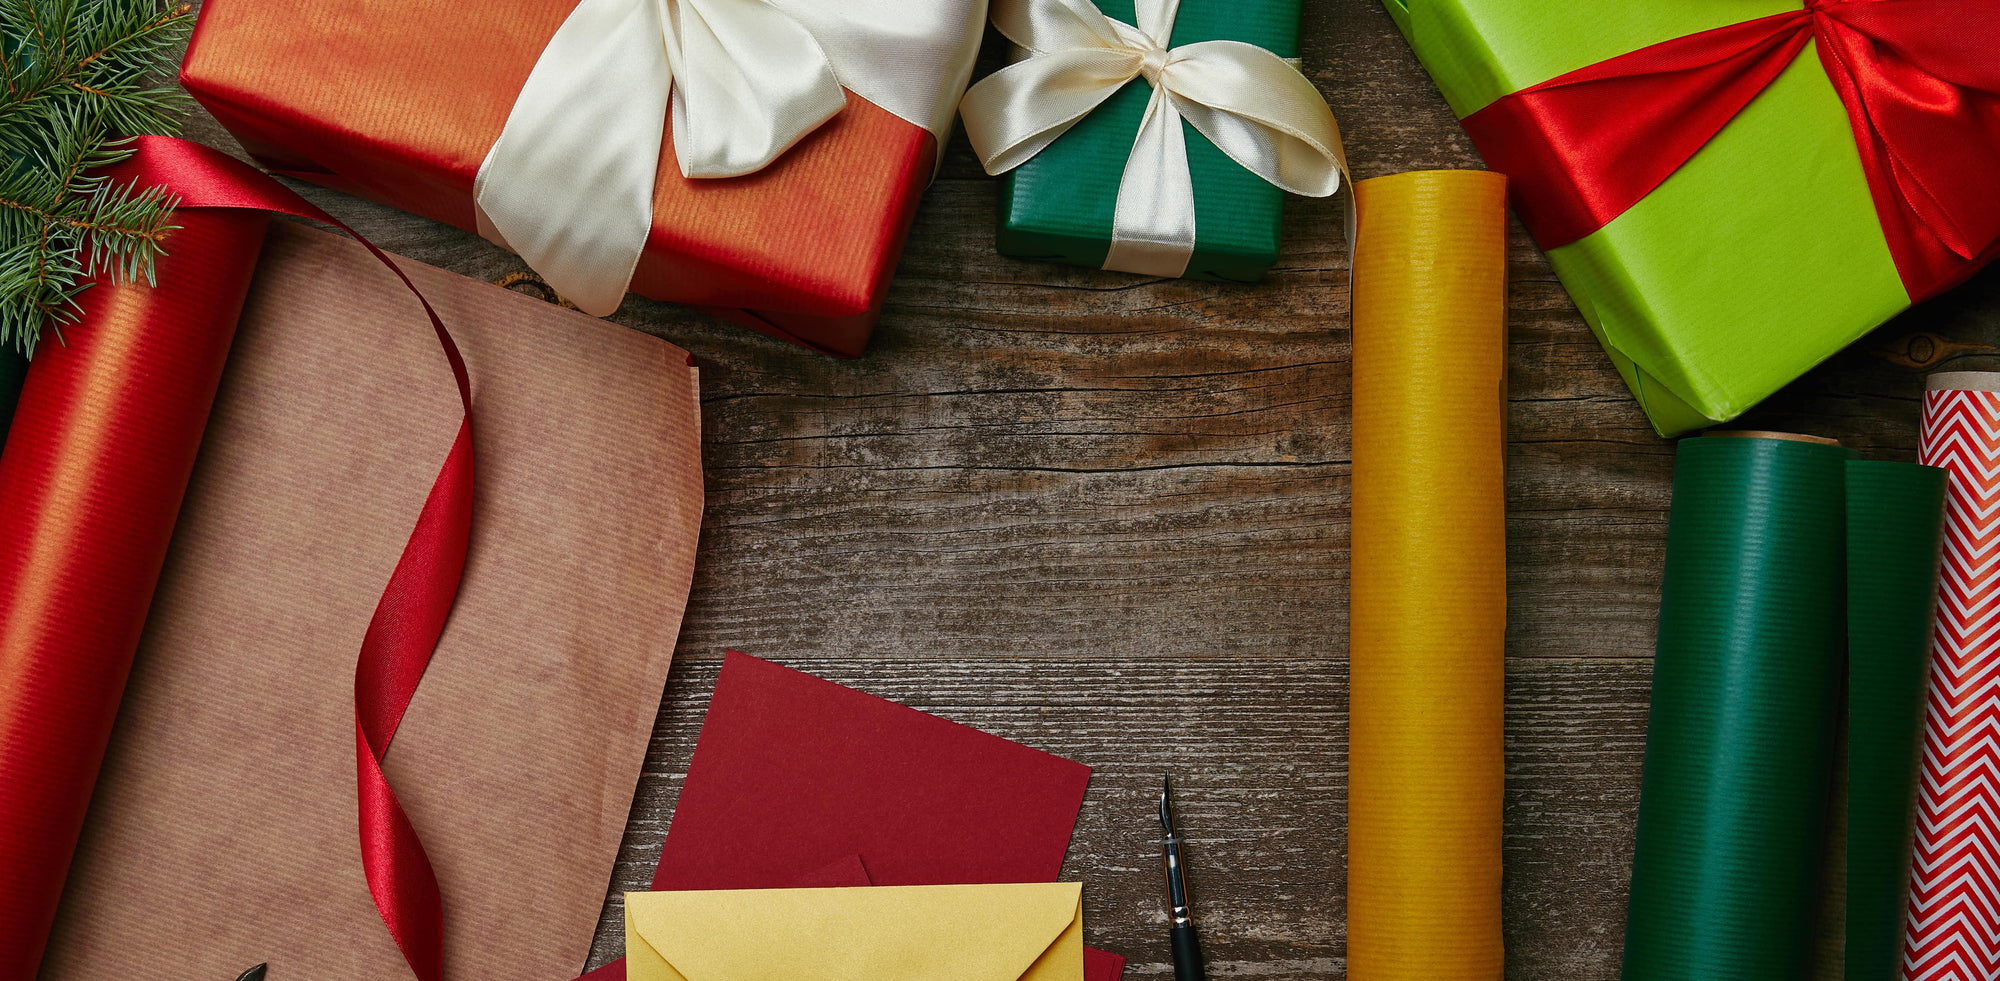
First, you’ll want to get your workstation set up. This means finding a large, flat, smooth, and hard surface, like a wooden floor or a dining room table. Place your gift, your wrapping paper, your tape, your scissors, and any embellishments (bows, ribbons, etc.) all within close reach.
Step 2: Roll Out Your Paper
Now, you can roll out your paper, decorative side down, with the edge facing you. Position your box in the bottom right-hand corner, leaving enough paper to fully cover the box. This doesn’t need to be measured out, as you can simply eyeball it and gently manipulate the paper to make sure that the box will be fully covered. Remember that you need about an inch overlap with each seam, so that there aren’t any gaps revealing the gift.
Step 3: Cut
Next, you can cut the paper. Again, make sure to cut out your wrapping paper while ensuring that all four ends have enough paper to fully cover your box. Cut carefully, making sure that the edges aren’t jagged or curved, as this will result in an untidy presentation.
Step 4: Fold the Wrapping Paper Lengthwise
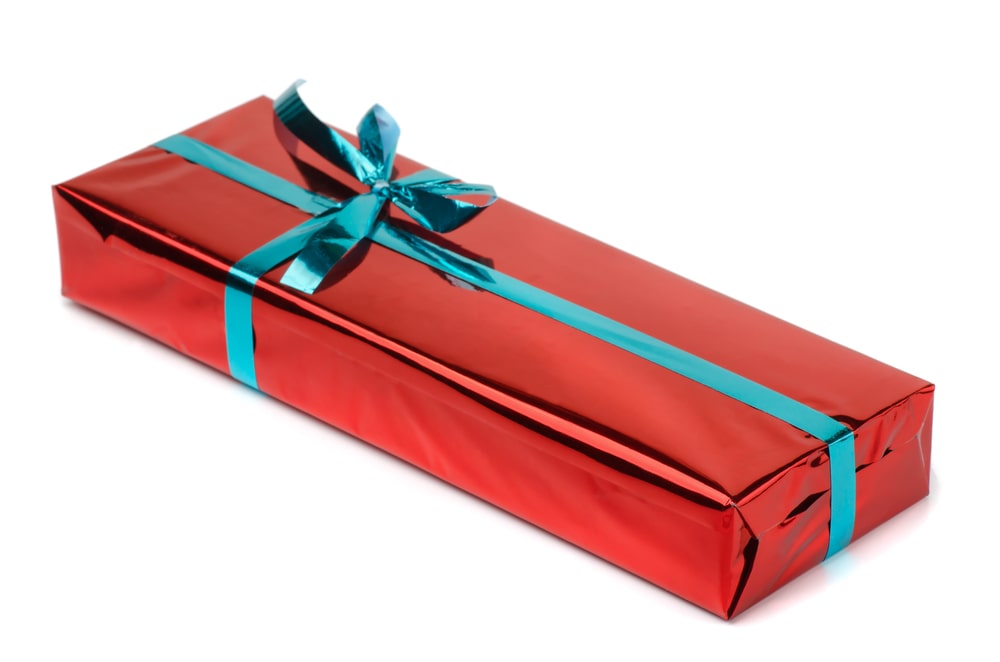
Let’s start folding, starting with the lengthwise seam. Take both lengthwise edges of the paper and bring them up and over the gift, allowing one to overlap the other by about an inch or two (trim excess if necessary). Make sure to wrap tightly, by holding the paper taut. Secure with tape.
Step 5: Take Care of the Edges
The side edges come next, one at a time. Starting with the left side, you’ll want to smooth down the paper along the side of the box, holding it taut to make sure it’s not sagging. Then, you’ll want to take one corner and fold it into a triangular flap, with the point facing the center. Holding that down, do the same to the other corner, before bringing the two flaps upward to cover the side of the box. If the tabs are so tall that they reach the top of the box, trim them so that they only just cover the sides. Tape to secure.
Step 6: Embellish
Now that your gift is wrapped, you can go ahead and decorate with ribbons, bows, or whatever creative ideas you have in mind. Of course, ideally, your decorations match the wrapping paper to offer a cohesive look.
A Perfectly Wrapped Rectangular Box is a Piece of Cake!
Wrapping a rectangular box is easy, but wrapping it impeccably takes a bit more finesse. But, by simply taking your time and paying attention to each detail, it can look like a professionally wrapped gift, especially when you’re using the best wrapping paper and accessories. If you’re seeking out gift-wrapping supplies that offer an artisanal touch while being eco-friendly, zero-waste products, look no further than the selection at Waterleaf Paper Co.